Are you craving pizza but limited on time? This recipe is easy to follow and quick to make! This pizza crust is made with honey instead of sugar for a great taste. Follow my tips for a quick, but effective rise for your honey pizza dough.
Pizza night is a staple in our home. Some of my favorite memories include watching a Disney movie with my sister while we waited for mom’s homemade pizza to cook. This tradition has now been passed down to my family, but with honey pizza dough!

Why we love honey pizza dough
- We use honey for sweetener in this recipe but you can use granulated sugar if preferred. There are many reasons people might want to substitute honey for sugar, for me specifically, I want to use more unprocessed options whenever possible.
- Forgot to start the dough earlier in the morning? No problem! This dough comes together quickly to make life easier.
- Although this is a quick dough, you can make this ahead of time and store in fridge until ready to use. This dough can be stored in the fridge for up to 72 hours.

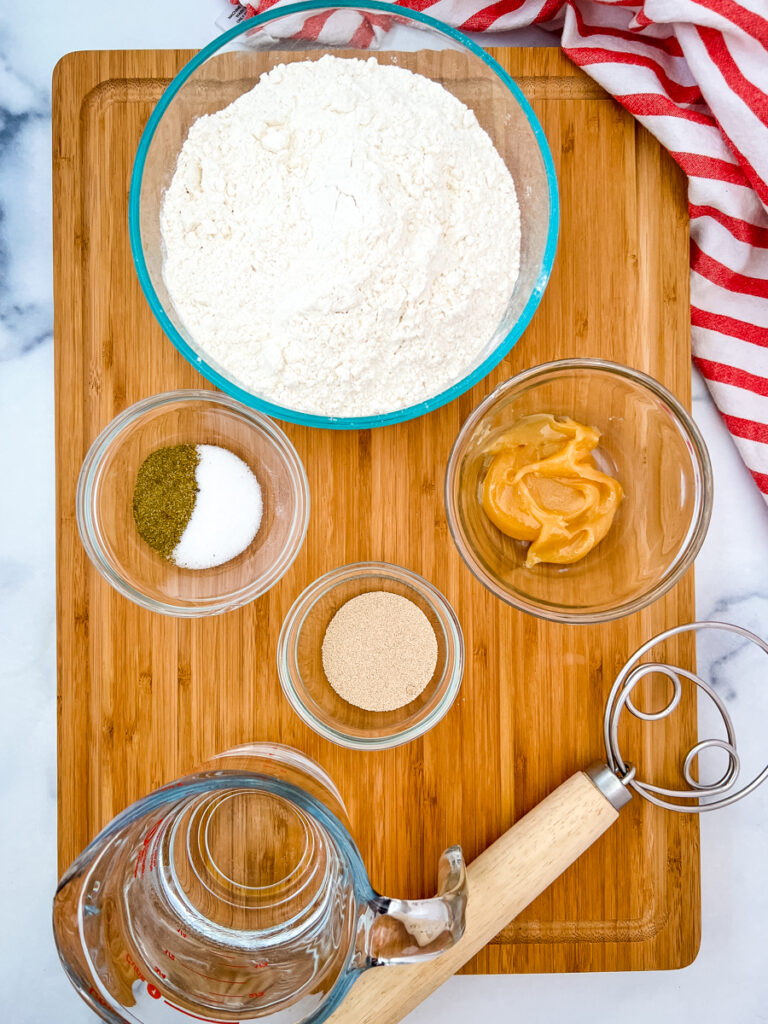
Ingredient notes and substitutes
- Honey can be substituted in equal amounts for granulated sugar, if preferred.
- We use pizza dough seasoning to add flavor to the dough but this can be substituted for garlic, rosemary, Italian seasoning or nothing at all.
- For this recipe I used 00 flour as it is known for its soft and chewy crust. However, you can easily swap 00 flour out for bread flour or all purpose flour.
How to make the best quick pizza crust
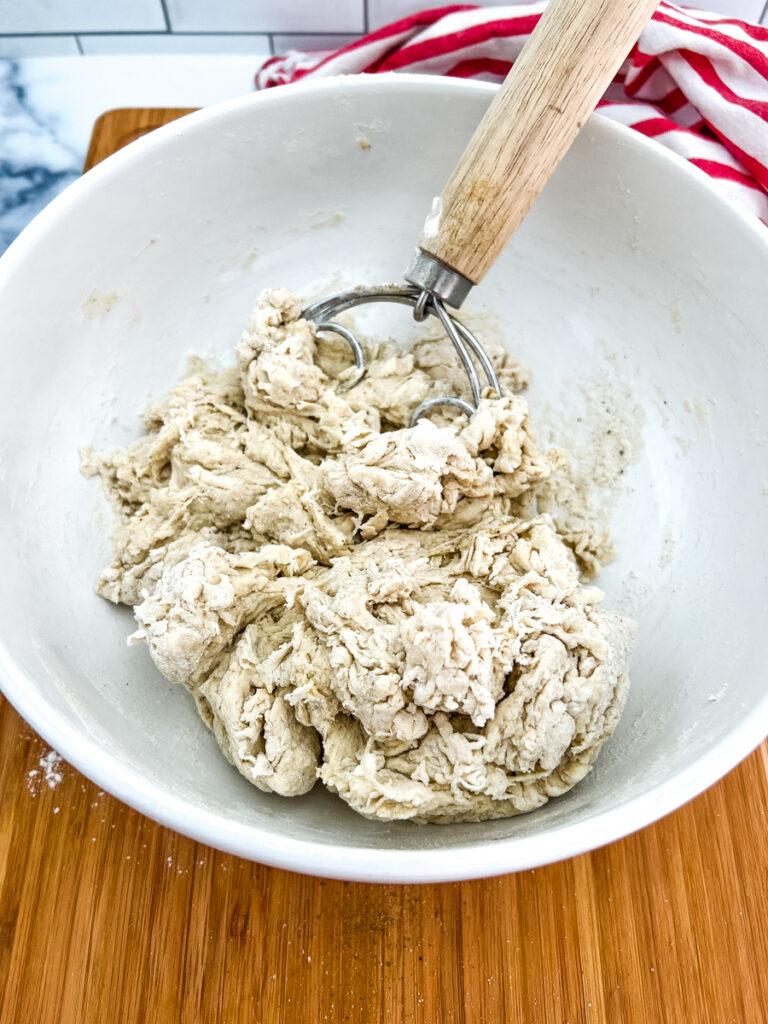
- In a large bowl combine warm water, honey and yeast, let it sit until frothy (typically 5-10 minutes). Add flour and salt and mix together with a dough hook, or clean hands, until a shaggy dough forms.
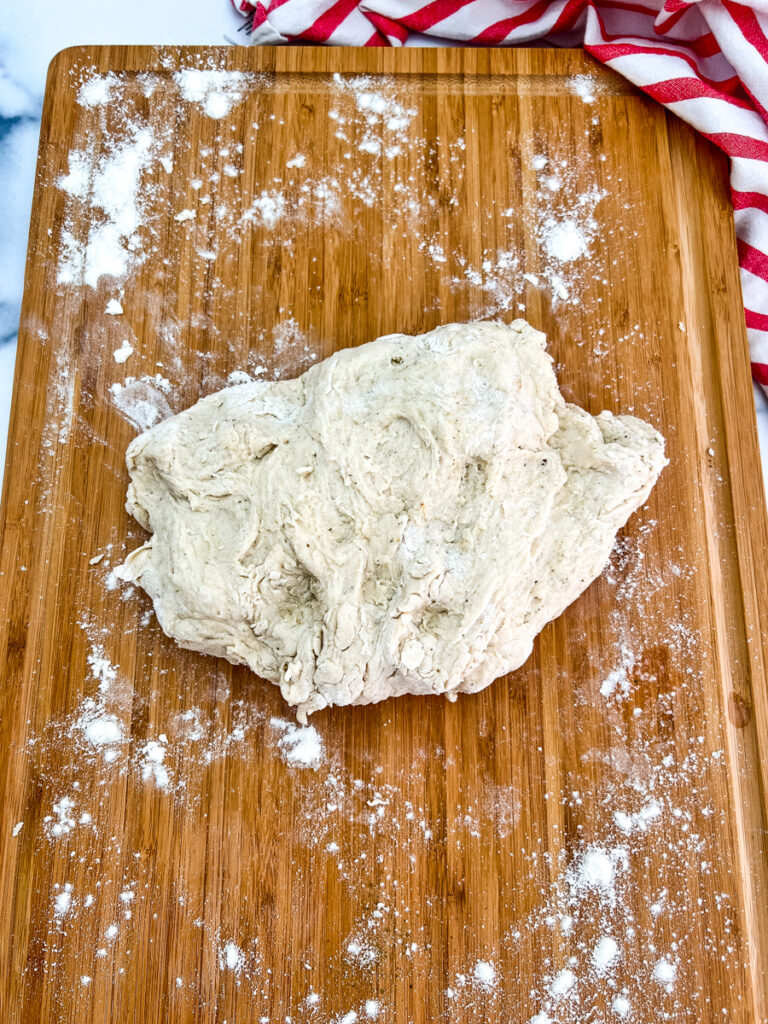
2. Lightly flour a surface and turn dough out to knead with hands for about 5 minutes until the dough is smooth, slightly tacky but not sticky. If the dough is sticky then add small amounts of flour until the consistency is right.
3. Place dough in a greased bowl and cover with a damp towel or plastic wrap. Place in a warm spot to rise. You can turn on the oven for a minute, turn off and then place dough in. Or find a sunny room in your home. The key to a shorter rise time is a warm spot for your dough to rise.
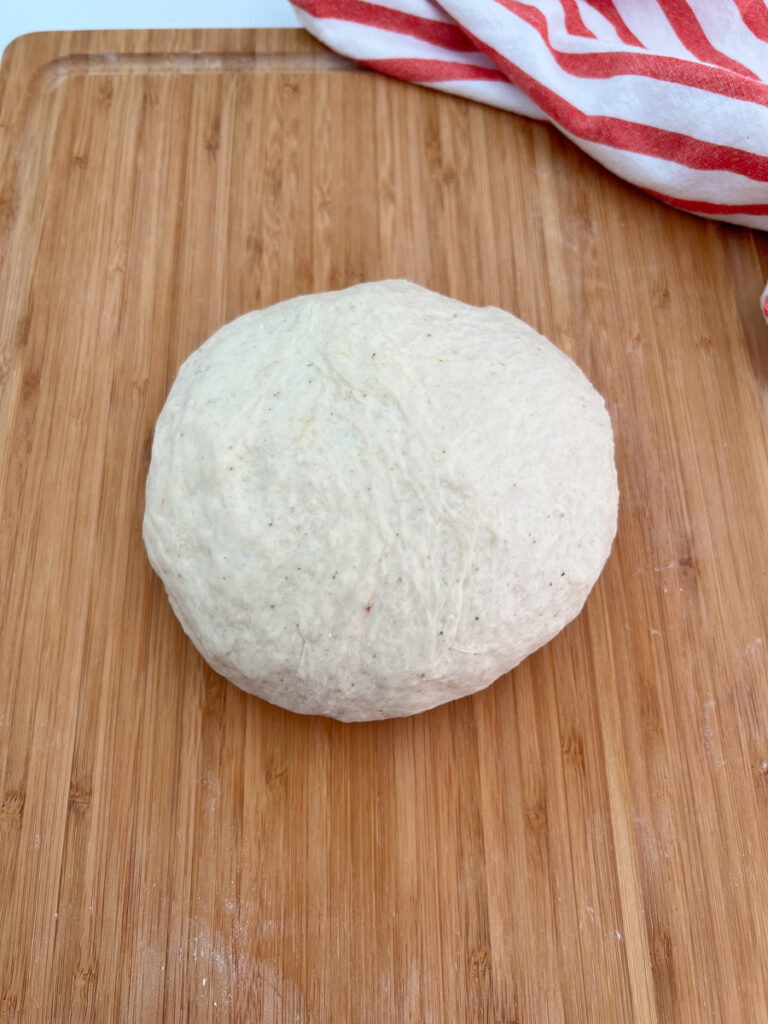
4. You’ll want it to rise for at least 15 minutes, if you have the time you can allow it to rise longer. When ready work the dough out into one large round or two personal pizzas.
5. Top and bake the pizza to your preference.

Ingredients
Equipment
Method
- In a large bowl combine warm water, honey and yeast, let it sit until frothy (typically 5-10 minutes). Add flour and salt and mix together with a dough hook, or clean hands, until a shaggy dough forms
- .Lightly flour a surface and turn dough out to knead with hands for about 5 minutes until the dough is smooth, slightly tacky but not sticky. If the dough is sticky then add small amounts of flour until the consistency is right.
- Place dough in a greased bowl and cover with a damp towel or plastic wrap. Place in a warm spot to rise. You can turn on the oven for a minute, turn off and then place dough in. Or find a sunny room in your home. The key to a shorter rise time is a warm spot for your dough to rise. You'll want it to rise for at least 15 minutes, if you have the time you can allow it to rise longer.
- When ready work the dough out into one large round or two personal pizzas. Top and bake the pizza to your preference.